Cart
0
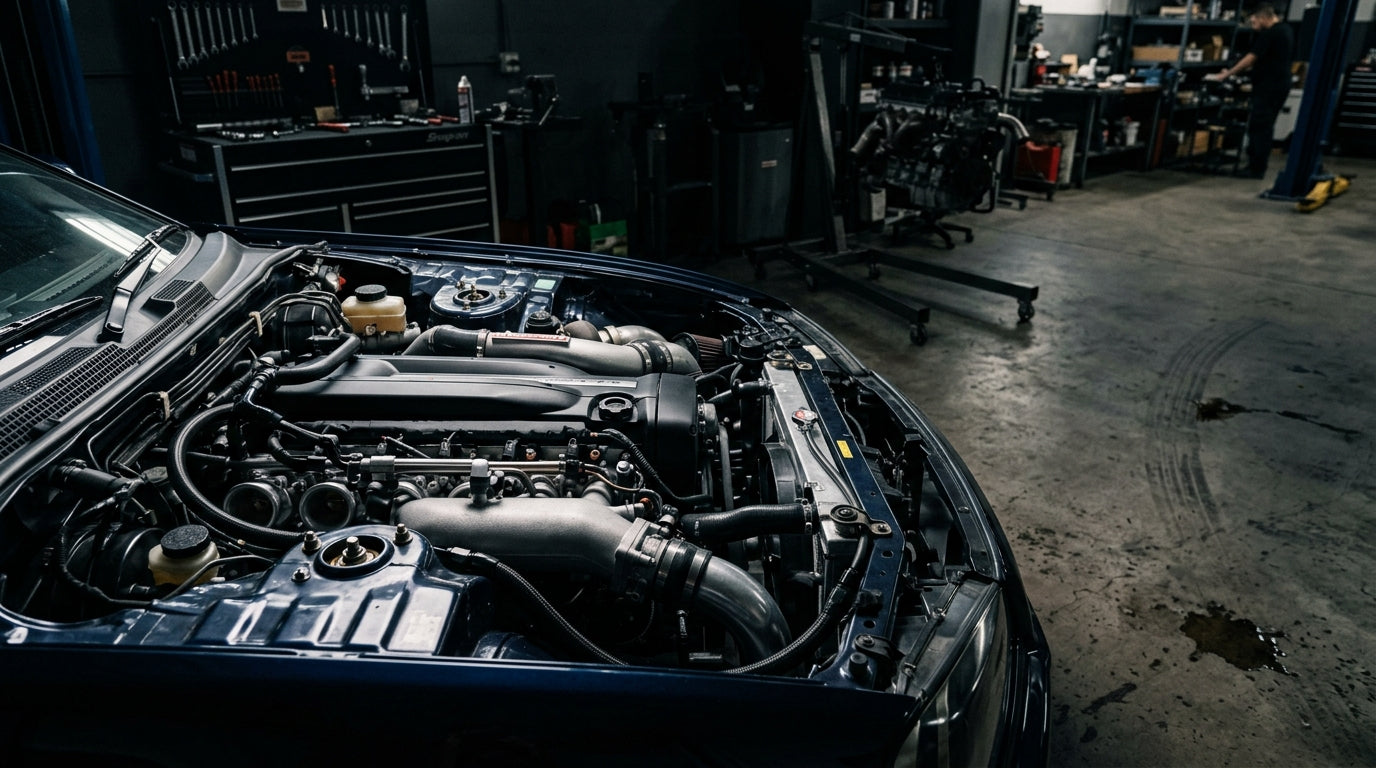
Installing a JDM engine correctly is as important as sourcing a good engine in the first place. Most early failures trace back to installation errors, not engine condition. This checklist covers the 20 steps to verify before you start the car for the first time, organized in the order you'd complete them during installation.
Mechanical installation
- Confirm engine mounts are torqued to spec. Loose mounts cause vibration and can shift engine alignment under load. Use a torque wrench; don't estimate.
- Verify all bellhousing bolts are fully seated. Transmission-to-engine alignment depends on all bolts being present and torqued correctly.
- Check axle engagement. Both CV axles should be fully seated in the transmission output shafts. A half-seated axle can pull out under load.
- Confirm exhaust manifold / header flange torque. Exhaust leaks at the manifold are common in rushed installations. Verify flange torque and gasket seating.
- Inspect all vacuum lines. Reconnect every vacuum line to the correct port; a missing vacuum line causes unmetered air, rich/lean conditions, and difficult diagnosis.
- Verify throttle cable or DBW actuator installation. Throttle cable should have a small amount of slack (no binding at full lock-to-lock steering); DBW connector should be fully seated and latched.
Fluid fills
- Fill engine oil to the correct level. Use the weight and spec for your specific engine code. Check the dipstick after filling; don't overfill.
- Fill coolant system completely. Use the correct mix ratio for your climate. Start by filling from the radiator, then top the reservoir. Note: JDM engines may have slightly different coolant passage layouts than the engine they're replacing; take extra time to burp air from the system.
- Fill transmission fluid. Use the correct specification for your transmission model.
- Fill power steering fluid if applicable. If your car uses hydraulic power steering and you disturbed the system during the swap, refill and check for air.
Electrical and wiring
- Verify every electrical connector is fully seated. Walk every connector on the engine harness and confirm it's latched. A partially seated connector often causes intermittent codes rather than hard faults, making diagnosis difficult.
- Confirm ground straps are attached. Engine grounds are as important as the positive connections. A missing ground causes all kinds of bizarre electrical behavior.
- Verify the oxygen sensor is connected. An open O2 circuit puts the ECU into open-loop fueling, causing rich running and poor drivability.
- Check that no wiring is routed near exhaust manifolds or moving components. Wire chafing against hot exhaust or rotating components causes hard-to-find intermittent failures.
Pre-start checks
- Prime the oil system before the first start. Pull the fuel pump relay (or disable the injectors) and crank the engine for 5–10 seconds to build oil pressure without combustion. Repeat 2–3 times. See our full break-in guide.
- Check for fuel system leaks before cranking with fire present. Turn the ignition to "on" without cranking to pressurize the fuel system; inspect fuel lines and rail for any seeping.
- Verify no tools, rags, or parts left in the engine bay. This sounds obvious; it is also how engine damage happens.
- Have a fire extinguisher accessible. Not paranoia — practice. The first startup of a fresh install is when any fuel system errors become apparent.
First startup checklist
- Monitor temperature gauge immediately on first startup. The gauge should rise to normal operating temperature within 3–5 minutes of idle. If it climbs past normal and doesn't stabilize, shut down and investigate the cooling system before continuing.
- Check for leaks at idle (oil, coolant, fuel). Walk around the car and visually inspect from below. A drip at idle is a drip that gets worse at driving load.
After the first heat cycle
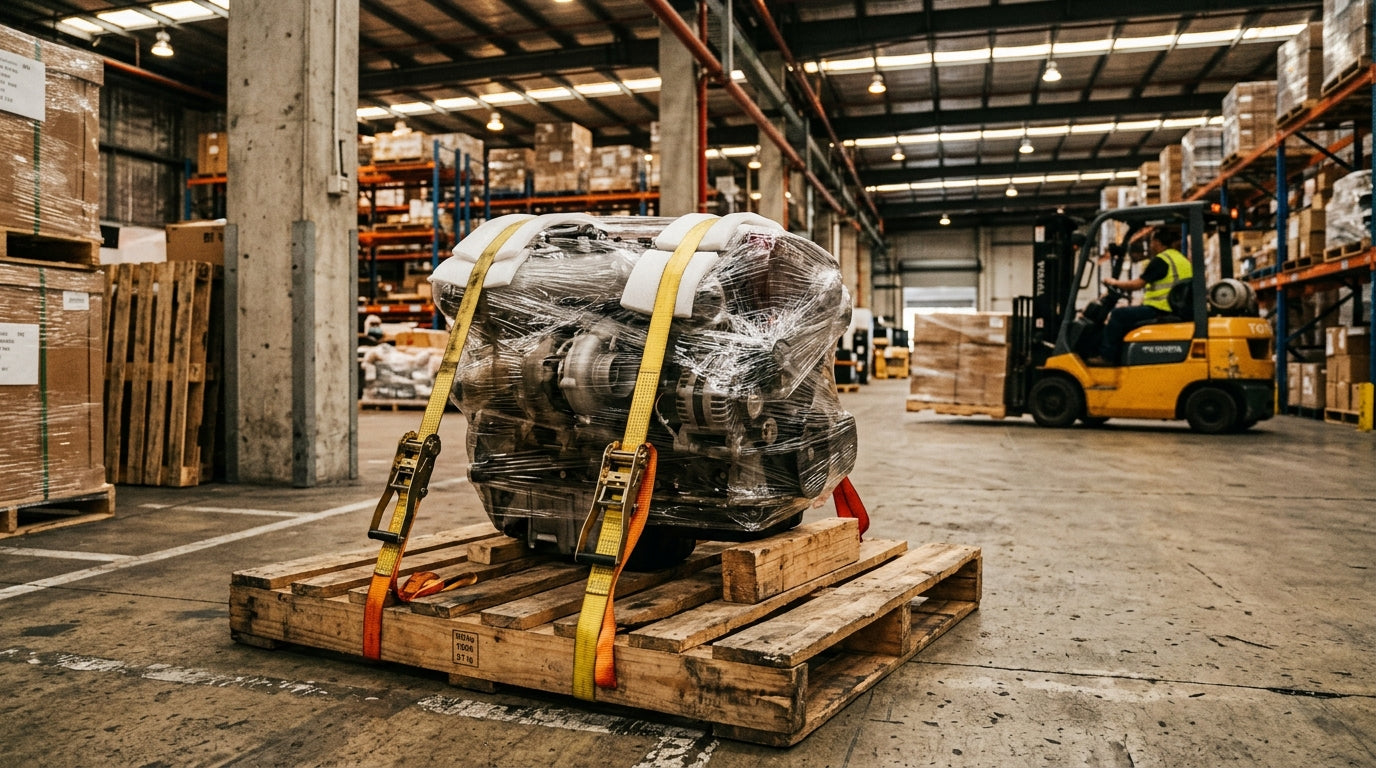
If the engine was stored before installation, see our shipping and storage guide for best-practice notes on short-term pre-install storage.
If the engine was stored before installation, see our shipping and storage guide for best-practice notes on short-term pre-install storage.
- Let the engine cool completely, then recheck oil level and coolant level
- Re-torque exhaust manifold flange bolts (thermal cycling can loosen them after the first heat)
- Re-bleed the cooling system if there's any air left (top up reservoir after the first heat cycle if it drops)
- Plan your first oil change at 500 miles to flush break-in debris
- Review your engine warranty terms before first startup — most warranties have conditions around the installation process
- Review your engine warranty terms before first startup — most warranties have conditions around the installation process
Frequently asked questions
What's the single most commonly skipped step?
Pre-lubing the oil system (step 15) is consistently skipped because it takes a few extra minutes with the fuel pump relay pulled. It's also the step that protects your bearings most directly on first startup. Don't skip it.
Do I need a scan tool before the first start?
Having an OBD-II scanner available at first startup is smart — you can read live data (coolant temp, fuel trims, O2 sensor activity) and pull any codes that set. It's not mandatory but it makes diagnosis much faster if something isn't right.
How long should I idle before driving for the first time?
Idle until the engine reaches operating temperature (coolant temp gauge at normal position). Don't drive under full load until the engine is fully warm. Once at operating temperature, a brief easy drive to verify drivability is appropriate; avoid hard acceleration or extended high-RPM driving in the first 50 miles. See the break-in guide for the full protocol.
What should I do if the engine leaks oil after the first heat cycle?
A small seep from a valve cover gasket or drain plug after the first heat cycle is usually an easy fix — retorque the fastener or replace the gasket. A more significant leak from the rear main seal or head gasket area warrants immediate investigation before further driving. Document the issue and contact your seller; it may fall under your engine warranty. For what to watch for by engine family, see our common JDM engine problems guide.
What should I do if the engine leaks oil after the first heat cycle?
A small seep from a valve cover gasket or drain plug after the first heat cycle is usually an easy fix — retorque the fastener or replace the gasket. A more significant leak from the rear main seal or head gasket area warrants immediate investigation before further driving. Document the issue and contact your seller; it may fall under your engine warranty. For what to watch for by engine family, see our common JDM engine problems guide.
See more installation guides
Swap parts list • Break-in procedure • Fitment guide • Shipping guide • Warranty guide • Browse engines in stock